Your guide to start your own kitchen garden
How to set up your Indoor Kitchen Garden
Step 1. Choose which plants you would like to grow
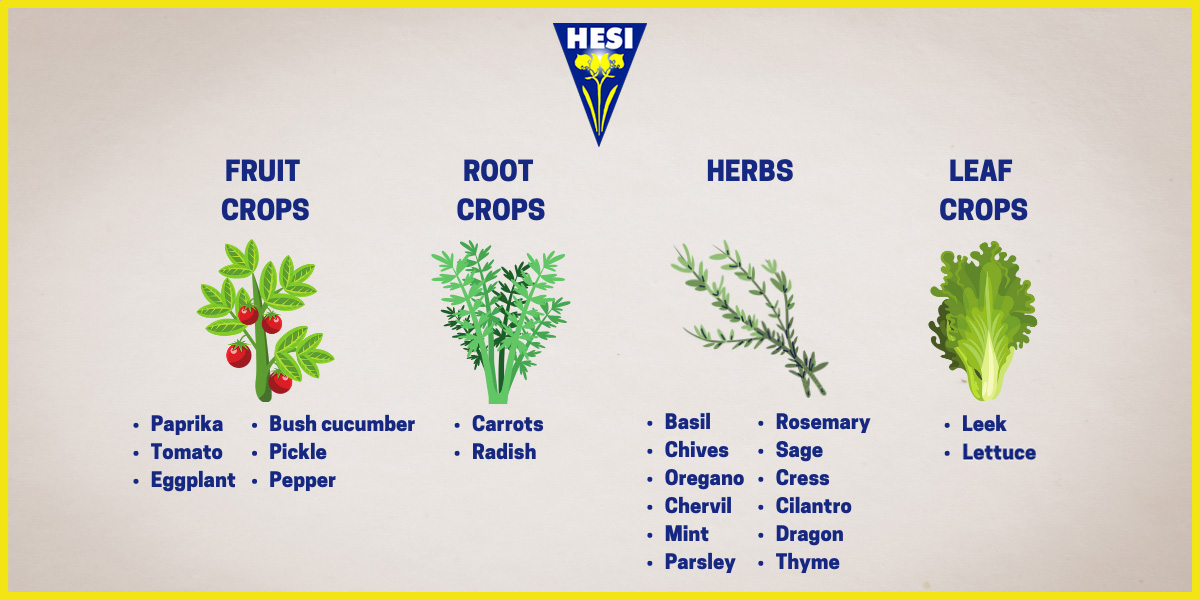
What ingredients do you often use in the kitchen? What type of dishes do you love to make? Make a selection based on that. To help you get started, we have made an overview of edible plants that are perfect for growing indoors. Our tip is to use high-quality seeds, to increase the chances of germination. As plant lovers we know all too well how sad it can be when you invest a lot of time (and money) into your seeds and they do not germinate!
Step 2. Plant the seeds
When selecting a pot, it’s important to go for one that has drainage holes and is 15 cm (6 inches) or taller. A larger pot will allow more space for the roots to grow and the drainage holes will protect your roots from mold due to water clogging. Some herbs pot better together than others.
These herbs are a good match:
- Thyme & rosemary
- Sage & oregano
- Parsley & chives
Mint should always be potted separate since it can easily overgrow other plants. Plant the seeds in a pot with soil (sand, peat pellets or a basic sowing soil). Your plants should get the optimum amount of nutrients that are present in the soil. We recommend the use of additional products once the plants have grown roots. Until that stage, all that your plants need is water and sun to germinate!
Tip from Hesi:Once your plants have developed roots, opt for soil with an airy structure, lots of nutrients, water storage capacity and a slightly acidic pH level. Additionally, you can add a layer of sand on top for plants like basil or parsley.
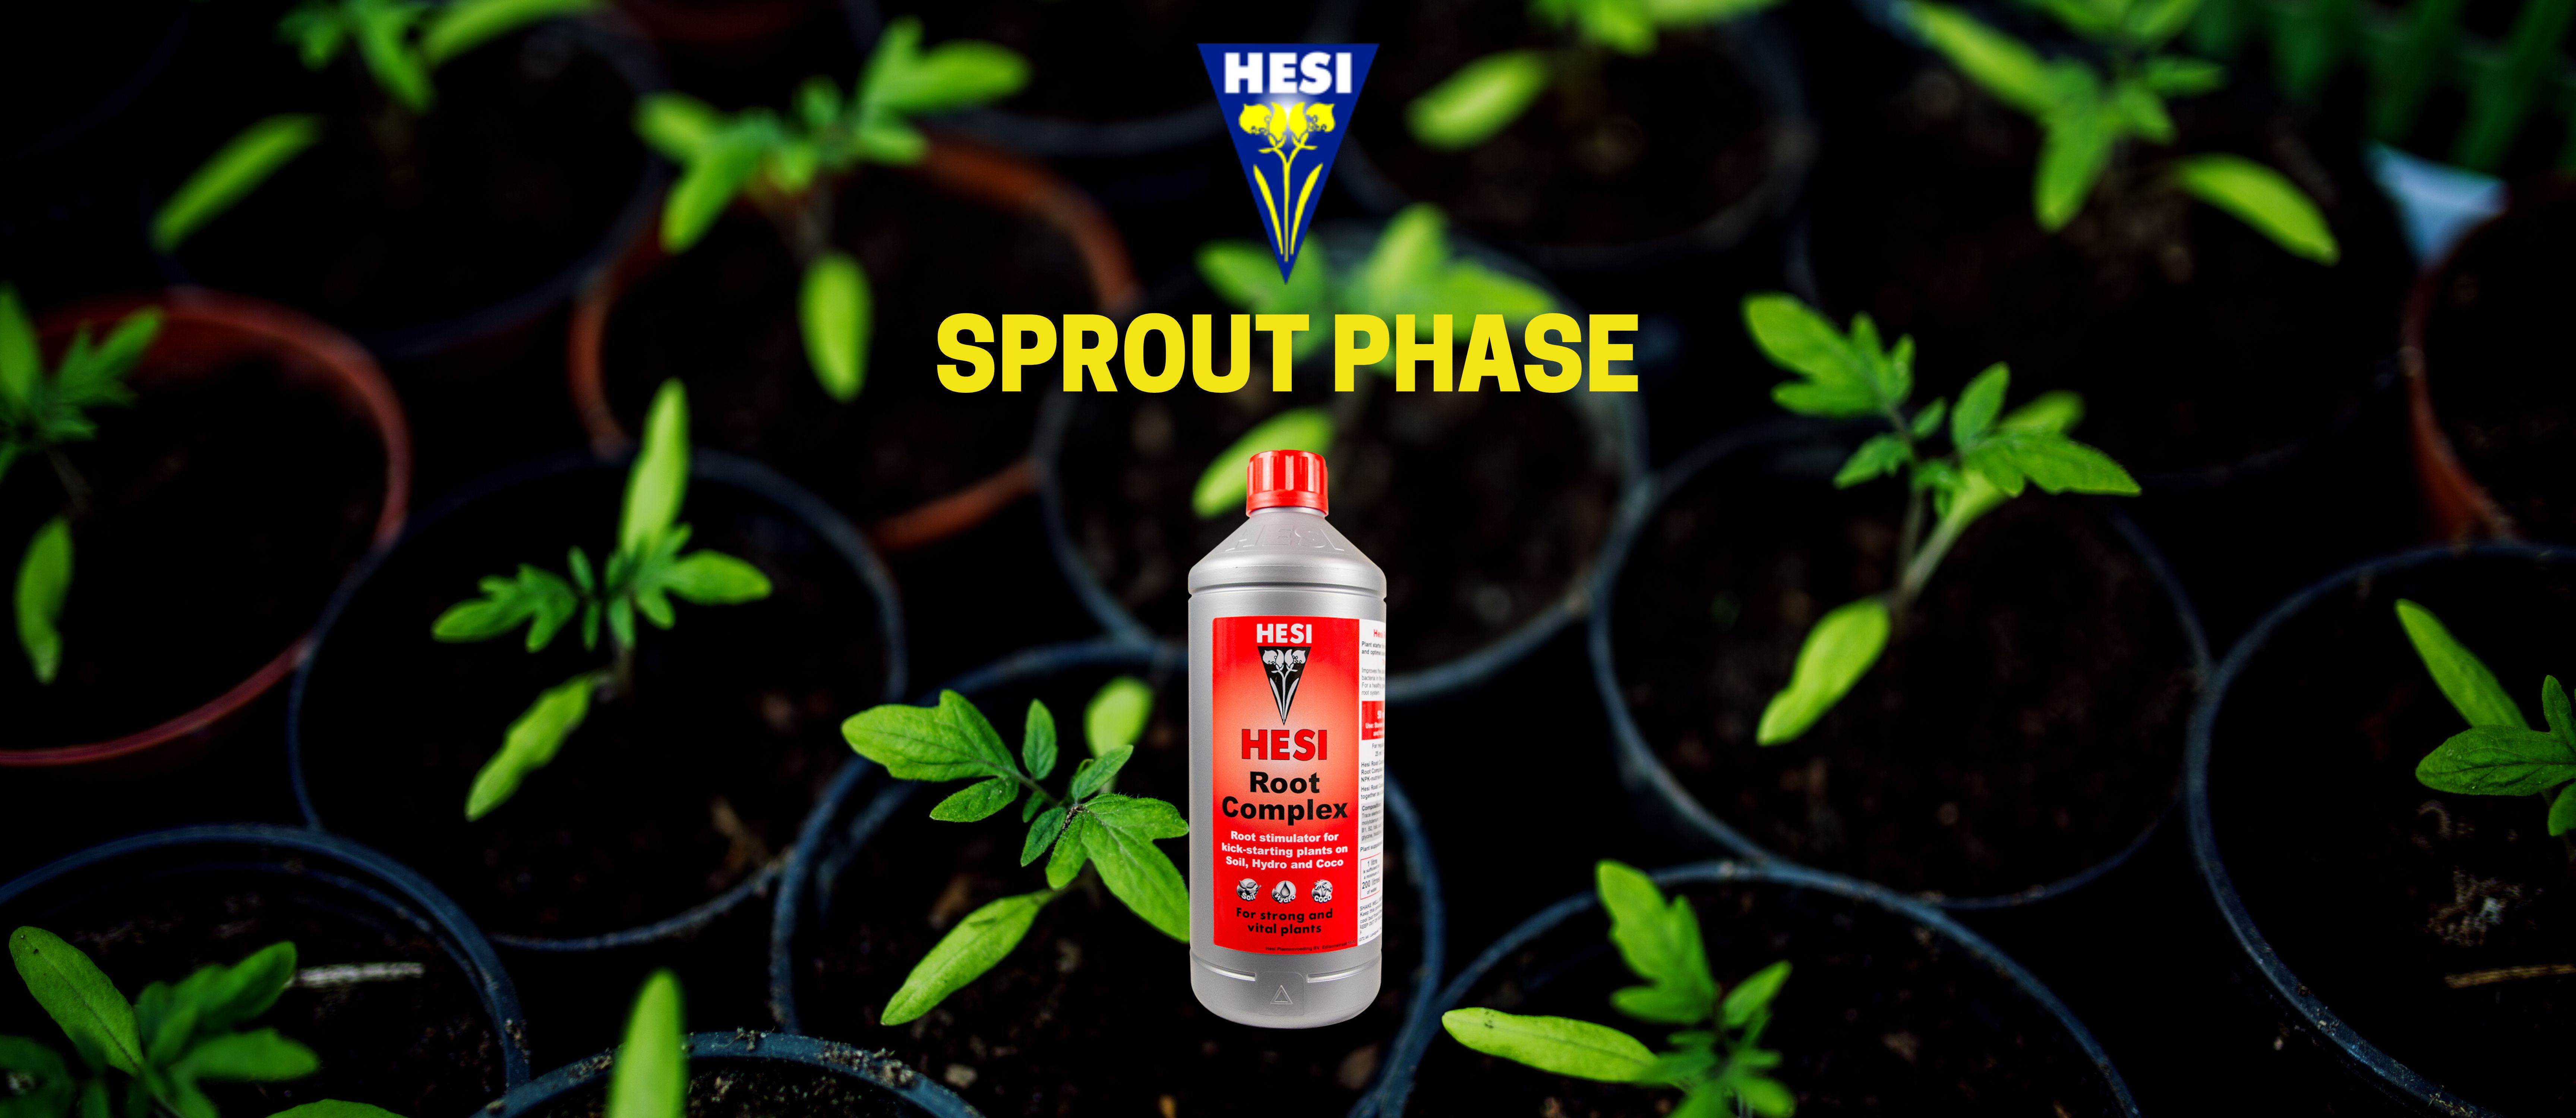
Products you can use in the sprout phase: we do not recommend the usage of additional products before the roots have developed. Once the roots have developed, you can add Root Complex to grow strong roots and strengthen the foundation for your plant.
Step 3. Pick the right location
A good location is key when you want your plants to be healthy and strong! Lighting requirements may vary according to plants and seasons. Most edible plants require at least 6-8 hours of direct sunlight daily. The benefit of growing your plants indoors is that you have more control over the climate and therefore the development of your plant. The ideal room temperature for most edible plants is between 18 and 21 °C. Good air circulation is also very important!
Tip from Hesi:If you can’t find a spot with a lot of natural light, or if it’s winter (and therefore less sunlight), we advise grow lights instead. They help your plants grow by aiding in photosynthesis. Also, they allow for more control over the specific hours of “sun” light.
Step 4. Look after your plants
Water your plants 2-3 times a week. Don’t worry if the top looks dry, the soil deeper in the pot usually stays moist for longer, thanks to limited evaporation below the surface. The drainage holes are your best friends and give you the opportunity to feel whether the soil is still moist at the bottom. Avoid over watering your plants at all times. Wet soil means wet roots, which can turn into rotted roots. If you have rotted roots, the health state of your edible plants is critical and possibly irreversible. To stimulate the germination process of the seeds, it can help in the first 1-2 weeks to put a plastic foil over the pot to create a greenhouse effect. Make sure you remove the plastic foil at the first sign of green above the soil.
Tip from Hesi:Look at your plants every day and see if there is any difference in their development. If you, for example, notice that one plant grows slower than the others, try turning it around so it might get more sun or perhaps a different light. Trust your senses!
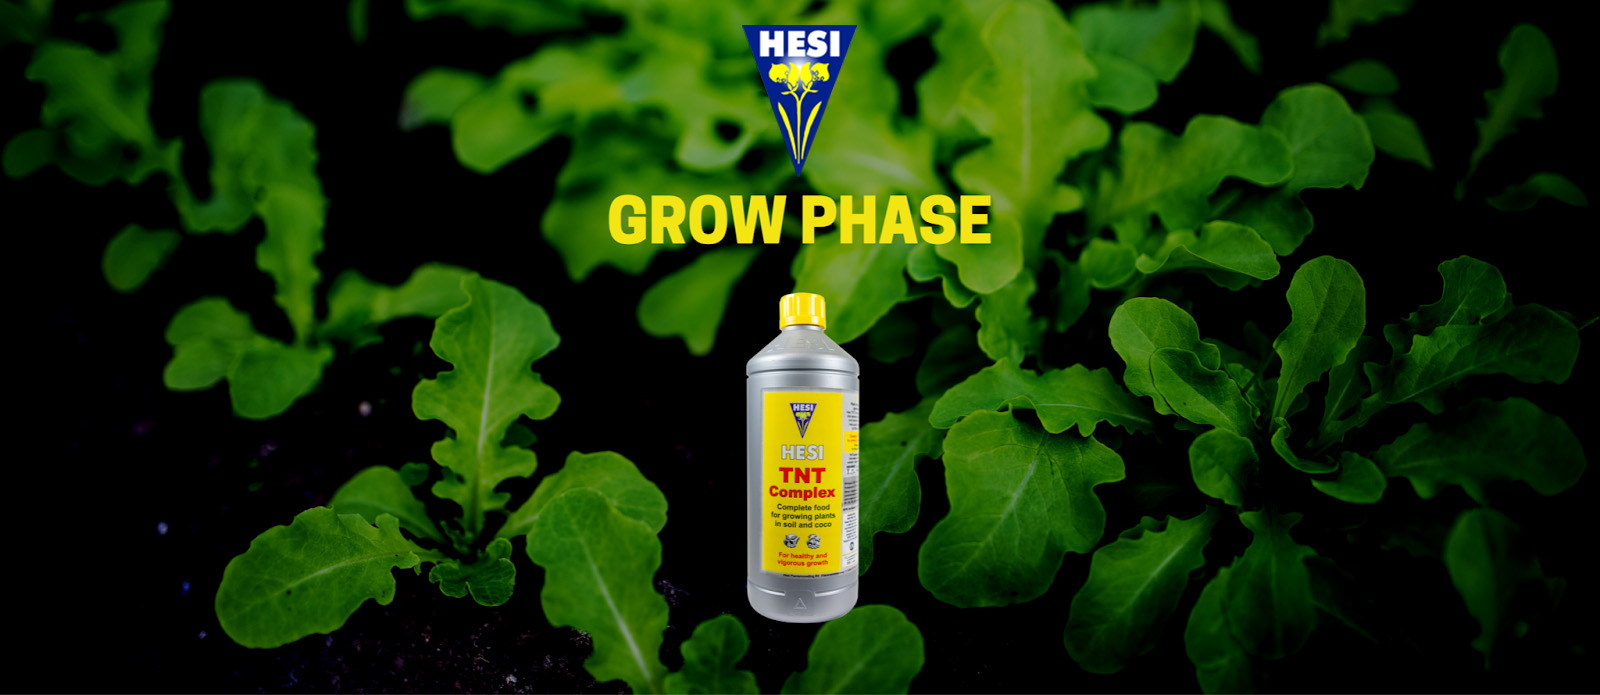
Products you can use in the growth phase: TNT Complex is your go to buddy during the growth phase. Hesi TNT Complex is a fertiliser with a very powerful effect and at the same time, sweet & gentle for your plants. The nitrogen is almost 100% organic (urea) and therefore protects sensitive roots. The results of using TNT Complex are strong plants, trunks and branches, which the plant needs to carry beautiful, juicy fruits and vegetables.
Step 5. Watch them grow!
Enjoy watching your plants grow! Depending on the type of plants and the conditions in which they are growing, the plants can be fully grown between 6-12 weeks.
All plants need vitamins to live, just like we humans. Unlike people, plants can produce all the necessary substances themselves, starting from inorganic minerals, water and carbon dioxide as raw materials. If additional quantities of the already finished vitamins are made available to the plants, the plants use them directly and save energy, which is then available for other purposes. To stimulate the development of the plant and give your plants the perfect opportunity to blossom, a little boost can be very helpful and leat to great results!
Tip from Hesi:When you have plants that will blossom, like tomatoes or fruits, your plants can use a little boost. We recommend a boost with plenty of nutrition (nitrogen, phosphorus, potassium, magnesium, calcium, trace elements etc.) and vital components (amino acids and vitamins) that stimulate the development of the plant.
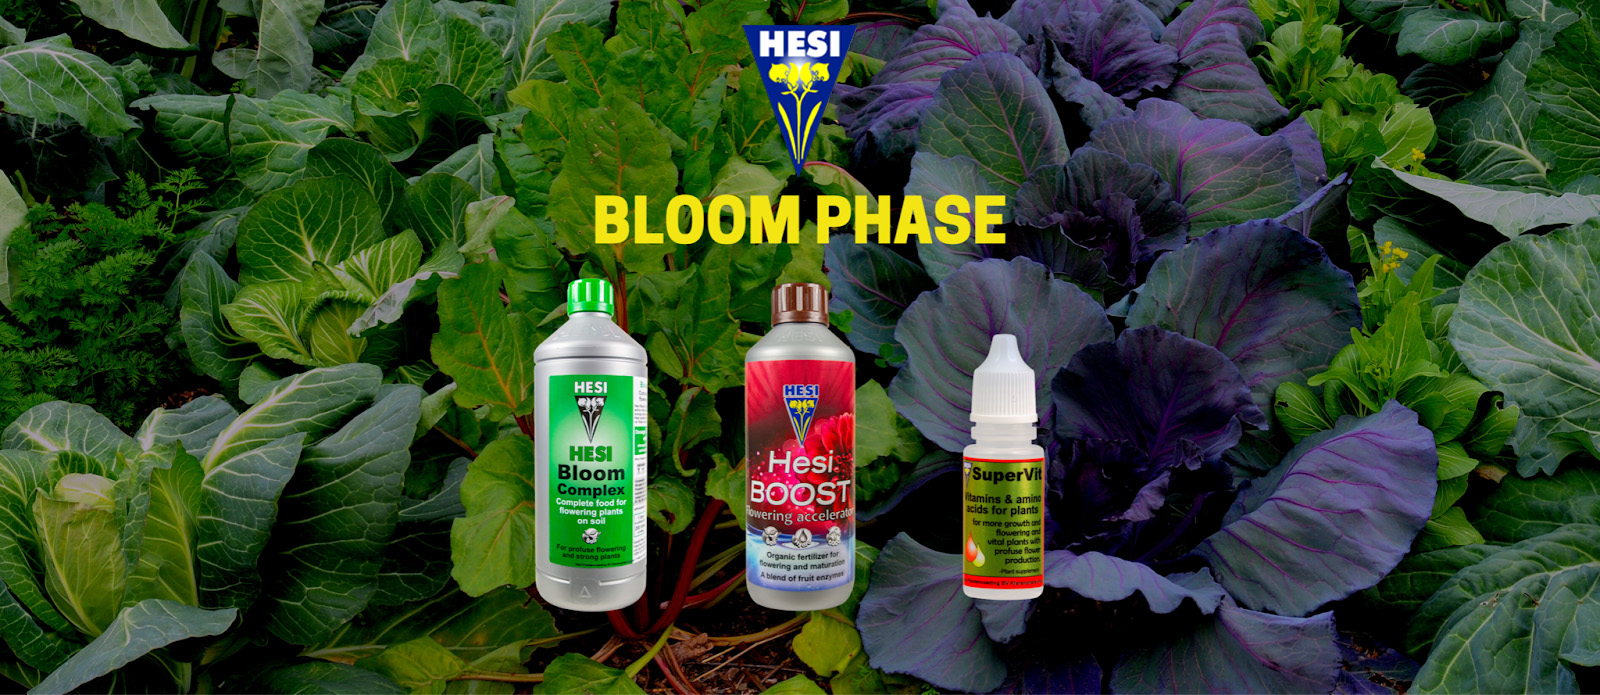
Products you can use in the bloom phase: Bloom Complex, BOOST & SuperVit.
Step 6. Clean your plants
We advise a so-called “flush”, at least 2 weeks before you intend to eat the plants. This means that you stop giving them any nutrition and only give the plants water. The plants will then use up all the extra nutrients and any excess will be flushed out, which makes sure that the plant is fully ready to be eaten.
Tip from Hesi: Avoid removing more than a quarter of the plant at a time, which will cause distress and could potentially even kill the plant. Give the plant time to re-grow or even take some cuttings to make more plants out of one.
About Hesi
HESI Plantenvoeding B.V. has over 25 years of experience in producing plant fertilisers, plant aids and soil additives. We offer special nutrients for Soil, Hydro & Coco and everything else your plant needs to be healthy and grow. Our products are 100% vegan, universal and suitable for every plant in the house or garden. Available in stores in over 42 countries worldwide. Find a Hesi retailer near you! Want personal advice for your plants? Hesi's got you! Contact us free-of-charge for personalised advice via our Facebook or Instagram!
- Cultivation Tips : Inspiration , Plant Care , Hesi Products
 Deutsch
  Français
  Español
